Timber Wolf paint and detail
This Timber Wolf car was done for someone very close to my heart, Jeremy Hurtado
Follow along to get ideas on how to tackle that paint job you've avoided for so long. Do your research first. Study and print out pictures of the cars you want to duplicate in HO scale. This is good reference material. Have them close by as you draw the pattern on your car. Erase if you need to. Use a sharp pencil and Tamiya masking tape for this kind of detail painting. The result will surprise you (hopefully in a positive way). Now, get out there and get after that paint job you've been putting off.
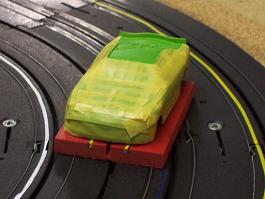
All taped up
After shooting some green paint, tape up the areas you don't want blue. With Tamiya paint, you can mask after only one hour.
You can use pictures from the BGN site.
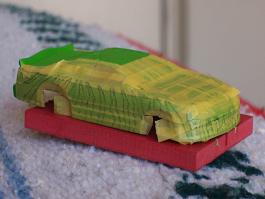
Try to make the striping look just like the real car. Draw it onto the Tamiya masking tape at this point. Use a pencil and erase if you need to change. The current Busch car is a Pontiac. This is a Greg Davis made resin Monte Carlo because I have an older set of decals which have Chevy insignias on them.
Carefully cut along the lines
It takes a steady hand to cut along the lines which were drawn on the tape. You'll want to use a new blade in your hobby knife. Then, carefully pull away the tape from the areas you want blue. The finishing touch is to burnish all edges to prevent paint from bleeding under the edge of your nicely trimmed tape. Now you're ready to shoot this with some French Blue.
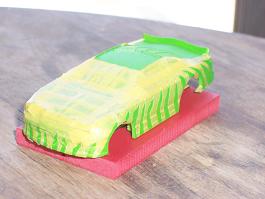
It's not too long after painting...
before you can carefully peel away the tape and check out your work. The edges along the tape were high and require sanding prior to the decals getting set. It was sort of like textured stripes. Use 600 sandpaper to knock down that edge so the texture doesn't show in your decals. This will allow the decals to set better too.
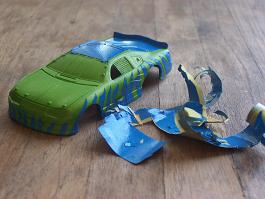
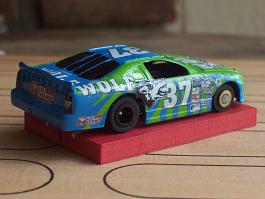
Decaled up
Looks good from every angle. Because this decal set was from an older Monte Carlo, borrow some headlights and tail lights from a more current model. Throw the 37 on them and WOW! It's a piece of work.
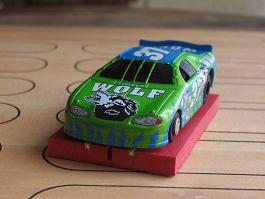
Front View
Click on the picture to let me know you stopped by. Some more detail around the windows and grill and this one will be ready for the Concours de Elegance. Don't forget to hit it with some clear Tamiya paint to protect the decals from bumpin' and bangin' that occurs with these wider bodies.
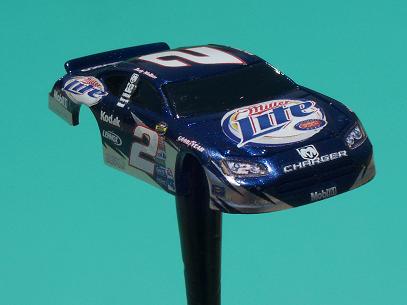
Some friendly competition
Rusty's Last Call is the latest NAS-T-JET body done. Email me at RMickey4@msn.com for information on how you can own your very own custom paint job ready to mount and race on a your favorite t-jet chassis. NAS-T-JET chassis are available individually or with a body. Ask for a quote